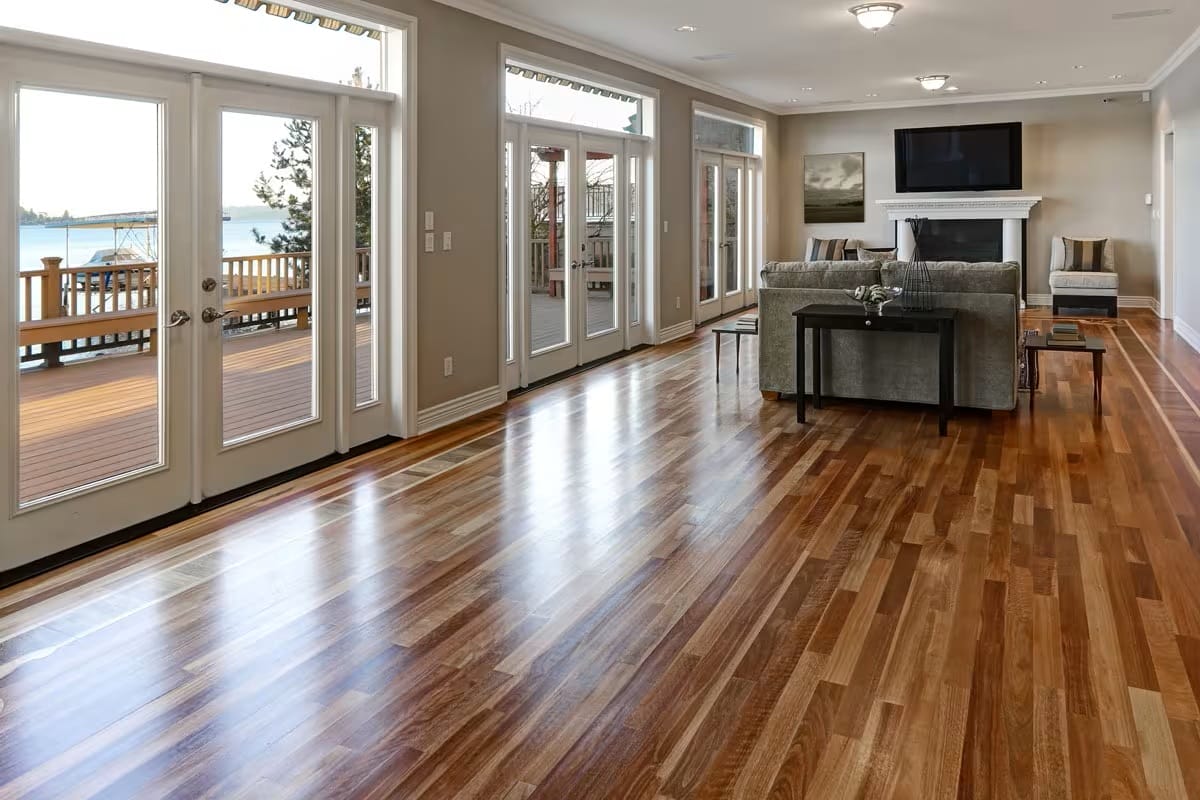
Refinishing hardwood floors can breathe new life into your home, transforming worn and scratched surfaces into beautiful, vibrant wood floors. This process not only enhances the aesthetic appeal but also extends the lifespan of your hardwood. In this comprehensive guide, we will delve into the intricacies of hardwood floor refinishing, covering everything from the initial understanding of the process to actionable steps that ensure a successful project. Whether you are considering refinishing your original hardwood floors or just looking to learn how to refinish hardwood, this article provides invaluable insights.

What is Hardwood Floor Refinishing and Why is it Necessary?
Understanding the Process of Hardwood Floor Refinishing
Hardwood floor refinishing is the process of sanding down the existing finish and imperfections in the floor to prepare it for a new finish. It typically involves using a floor sander, such as a drum sander or orbital sander, which effectively removes the old finish, and any scratches or imperfections present on the surface. The process begins with determining the right grit of sandpaper to use; coarse grit is often employed initially to strip away the top layers, followed by finer grits to smooth the surface. Once the sanding is complete, the floor is cleaned thoroughly to remove all dust before applying a new finish, which could be a water-based sealer or polyurethane varnish.
When Should You Refinish Your Hardwood Floors?
It is essential to know when to refinish a hardwood floor to maintain its beauty and durability. Typically, refinishing is necessary when you notice visible scratches, dents, or discoloration on the surface. If the wood floor appears dull and lifeless, it may be time for a refresh. Additionally, high-traffic areas in your home may require more frequent attention. Generally, every 7 to 10 years, it may be advisable to consider floor refinishing to keep your hardwood in optimal condition.
The Benefits of Refinishing Your Wood Floor
Refinishing your hardwood floors offers numerous benefits. Firstly, it enhances the aesthetic appeal of your space, allowing you to change the color of the wood or restore its original beauty. Secondly, refinishing can significantly increase the value of your home. Potential buyers are often drawn to homes with well-maintained hardwood floors, making this a worthwhile investment in home improvement. Lastly, the process of refinishing can help eliminate allergens such as dust and pet dander trapped in the old finish, improving the air quality in your home.
How to Refinish Hardwood Floors: Step-by-Step Guide
Preparing Your Space for Floor Refinishing
Before starting the refinishing process, thorough preparation is crucial. Begin by removing all furniture and carpet from the area you plan to refinish. This not only provides an unobstructed space for working but also protects your belongings from dust and debris. Next, make sure to clean the floor thoroughly to remove any dirt. A clean surface is essential for effective sanding and finishing. Additionally, ensure that you have adequate ventilation in the area to allow for the fumes from the finish to dissipate appropriately.
Tools You Need to Refinish Hardwood Floors
Having the right tools is crucial for a successful hardwood floor refinishing project. Essential tools include a floor sander, either a drum sander or an orbital sander, which will help you sand the floor efficiently. You will also need various grits of sandpaper to achieve the desired smoothness. Along with sanders, you will require a vacuum to clean the floor after sanding, wood filler to repair any imperfections, and a buffer to achieve a smooth finish. Finally, a high-quality floor finish, such as a water-based sealer or polyurethane, will complete your refinishing project.
The Importance of Sanding the Floor Properly
Sanding is one of the most critical steps in the hardwood floor refinishing process. Proper sanding will remove the old finish and any imperfections in the floor, allowing the new finish to adhere effectively. Start by using coarse sandpaper to remove the top layers, then gradually transition to finer grits for a smooth surface. It is essential to sand across the grain of the wood to avoid creating scratches. Be careful around the edges of the room, as these areas often require more attention and precision. Neglecting to sand properly can result in an uneven finish and may necessitate additional work later.

What is the Difference Between Refinishing and Replacing Hardwood Floors?
Cost Comparison: Refinishing vs. New Hardwood Installation
When considering hardwood floor refinishing versus replacing hardwood floors, one of the primary factors to consider is cost. Refinishing is generally much more affordable than installing new floors. The cost of refinishing typically includes labor and materials, often amounting to only a fraction of the price of new hardwood installation. For homeowners on a budget, refinishing offers a feasible solution to restore the beauty of existing floors without the financial burden of purchasing new floors.
How Refinishing Can Extend the Life of Your Hardwood Floor
Refinishing can significantly extend the life of your hardwood floor. Regular refinishing helps maintain the integrity of the wood, protecting it from moisture and wear. By addressing scratches and imperfections promptly, you prevent further damage that could lead to more costly repairs down the line. In fact, with proper care and refinishing, hardwood floors can last for generations, making them a sustainable choice for any home.
Signs That You Might Need to Replace Instead of Refinish
While refinishing is a great option for many, there are signs that may indicate it is time to replace your hardwood floors instead. If you notice deep gouges, warping, or significant structural damage, refinishing may not be effective. Additionally, if the thickness of the wood has been worn down to the point where it cannot be sanded anymore, replacement could be the only viable option. Always assess the condition of your hardwood before deciding on refinishing or replacement.
Floor Refinishing Tips for a Successful Project
Choosing the Right Stain and Sealer for Your Hardwood Floor
Selecting the appropriate stain and sealer is crucial for achieving the desired look in your refinished hardwood floor. The color of the wood can significantly change with different stains, so it’s wise to test a small area before committing to a full application. Water-based finishes are popular for their quick drying times and lower odor, while oil-based finishes offer a rich, deep color. Ensure that the sealer you choose is compatible with your stain to achieve a smooth and durable finish.
How to Remove All Dust After Sanding the Floor
Dust removal after sanding is pivotal to ensure a flawless finish on your hardwood floors. After sanding, use a vacuum equipped with a HEPA filter to remove the majority of the dust. Following that, a damp tack cloth can be used to wipe down the surface and capture any remaining particles. Neglecting to clean the floor adequately can lead to imperfections in the new finish, so take the time to ensure the floor is spotless before applying your stain and sealer.
Buffing Techniques for a Smooth Finish
Buffing is an essential step in achieving a smooth and professional-looking finish on your hardwood floors. After applying the final coat of finish, use a buffer with a fine pad to polish the floor gently. This technique not only enhances the shine but also helps to smooth out any imperfections that may have occurred during the application process. Be sure to follow the manufacturer’s instructions for the best results, and remember to buff in the direction of the wood grain for an even finish.
Common Mistakes to Avoid When Refinishing Hardwood Floors
Over-Sanding and Its Consequences
One of the most common mistakes when refinishing hardwood floors is over-sanding. Sanding too aggressively can lead to the wood becoming too thin, which may result in damage and the necessity for replacement. It’s essential to monitor your progress and change sandpaper grits appropriately to ensure you are not compromising the integrity of the wood. Always err on the side of caution and take your time during this critical phase of the refinishing process.
Using the Wrong Grit Sandpaper: What You Need to Know
Choosing the wrong grit sandpaper can have significant consequences during the refinishing process. Using too coarse a grit can lead to deep scratches, while too fine a grit may not effectively remove the old finish. It’s essential to start with a coarse grit for the initial sanding and gradually move to finer grits as you progress. Familiarize yourself with the different grits and their respective uses to ensure a smooth and polished final result.
Neglecting the Need for Proper Ventilation During the Process
Proper ventilation is crucial when refinishing hardwood floors, both for your safety and the quality of the finish. Fumes from stains and sealers can be harmful if inhaled, so ensure that you have windows open and fans running to circulate air. Additionally, poor ventilation can lead to issues with drying times and the overall finish quality. Always prioritize ventilation to create a safe and effective working environment.


